DIY Guide: How to Replace Your Mechanical Keyboard Switches

The wonderful thing about mechanical keyboards is the unique, premium feeling of the switches. They can either be clicky, a rounded bump, or a nice smooth linear press. If you are new to the mechanical keyboard world and don’t know how to choose switches for your first keyboard, you may want to check our A Helpful Guide: How to choose the Switches for Your Mechanical Keyboard as well.
Additionally, a good thing with mechanical keyboards is that you can change the feeling of your switches depending on how you feel, if your keyboard is hot-swappable. This is also great for whether the key has stopped working, since you can swap out the switch that might be causing issues.
Cherry is the most popular switch, but there are so many options for you to consider when swapping out keyboards, you can swap to other switches such as Gateron, Kalih, or Ajazz. But there are also other switches to consider, and this guide will help you understand how to swap out your switches.
Video References:
How to Add & Remove Mechanical Keyboard Switches
Epomaker GK68XS Arylic Kit Showcase
Hotswappability
Switches are all about preferences, a switch someone likes will not be the same as the switch you like, and there are also different types of switches (check our helpful guide for switch introduction). Also, you need to make sure your keyboard is hot swappable - you don’t want to be scratching up a keyboard and putting pressure on the switches when they are soldered in.
Hotswappability means that it allows for your switches to be replaced and changed without the need to solder the switch to your keyboard. In this way, you can just pop out switches with a switch puller and assemble a new switch within a few seconds. This amazing feature was adopted early by Epomaker to make sure that our products are fully customizable to your needs.
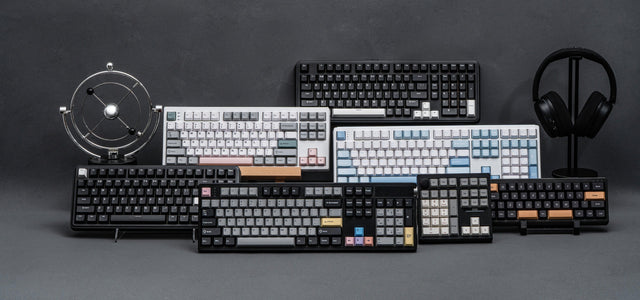
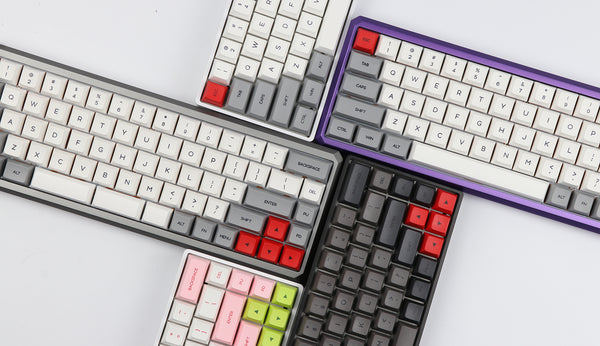
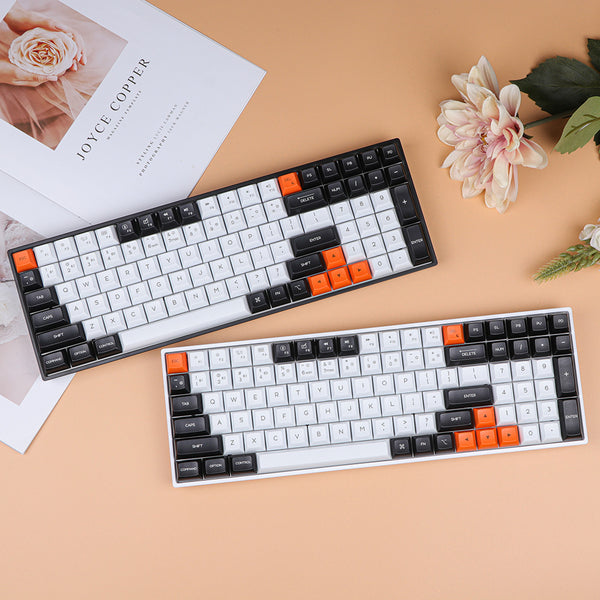
Top Hotswap Mechanical Keyboards:
Switch Options
Make sure you have the right switches for your keyboard switches swapping.
If you are using our Epomaker GK series, usually you’re looking for mechanical switches, and if you are using our SK series, then you are probably looking at optical switches. We will also explicitly write down the switch types in the product selection just in case you want to double-check. Both optical and mechanical switches are pretty similar, but they are NOT interchangeable. Mechanical switches have a large number of third-party options.
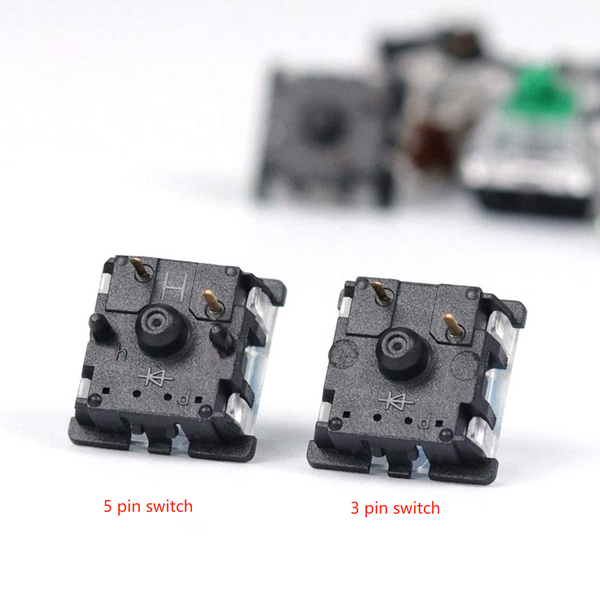
Make sure that you determine whether your keyboard supports either three pins, or both three pins and five pins. Some keyboards will require you to clip the pins at the bottom of your switch. Our GK series generally allows for both 3 pin and 5 pin switches to be inserted.
For optical, the back will not have any of the pins that the other switches have. This is since optical switches work by being actuated by light, rather than mechanically. The most famous optical switch brand is Gateron, which usually generates a faster response compared to the Gateron mechanical type as well as offering a longer life span of up to 100 million keystrokes.
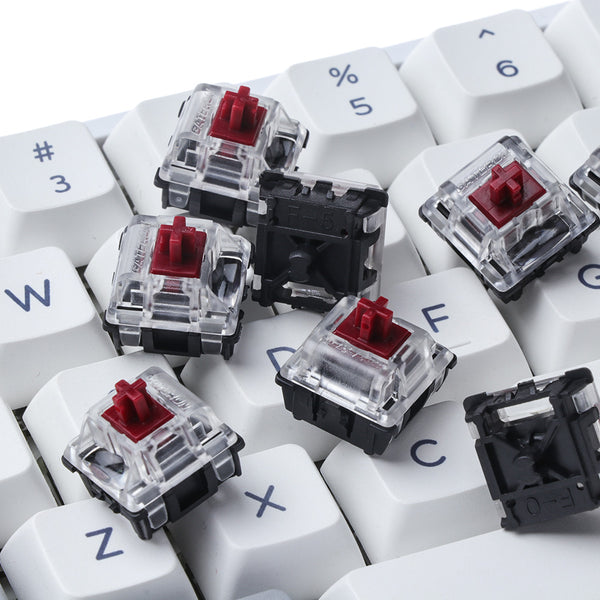
Mechanical Switches:

Optical Switches:

Removing Switches

You can remove switches with different switch pullers, but the most popular are the metallic keycap puller, 2-in-1 Switch Puller and the IC Puller, all of them have a similar way of pulling the switches. No matter which puller you prefer, you may need to make sure whether your switch requires you to put the puller in a certain direction, such as the left-and-right side, or the top-and-button side. An example is the Gateron Mechanical switch, which has two latches on the side and you need to put your switch puller on them before pulling the switch out.

When working with the metallic keycap puller, make sure you are gripping the sides of the metal and try to press down both sides in the middle of the switch, pulling upwards to make the switch come out.
Do not pull extremely hard on the keyboard, if the switch is not coming out, you might be pressing down the plastic housing than the tabs, and could potentially break your switch.

IC Puller
When working with the metallic keycap puller, make sure you are gripping the sides the plastic grip, making sure that you try to not put much pressure or you can break the switch. IC pullers aren’t designed to be switch pullers, so they could also possibly scratch your board.
Do not pull extremely hard on the keyboard, if the switch is not coming out, you might be pressing down the plastic housing than the tabs, and could potentially break your switch.

2-in-1 Keycap & Switch Puller
2-in-1 Keycap pullers give the convenience of having both the switch puller and the keycap puller in the same set. This switch puller requires you to press down on the top two metal sides and pull up. Since it has two sections that clip onto the switch puller, you might need to be sure that you hold the puller in the proper place before pulling, so that you won’t pull it out too hard.

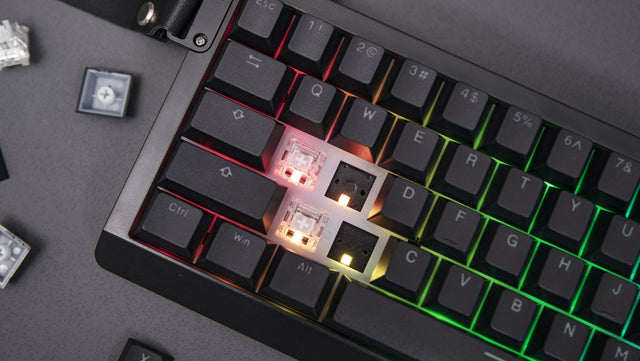
Adding Switches
When you add switches, you need to make sure you have the proper switches for your board, whether that is mechanical or optical, and that you are inserting it the right way.
All Epomaker keyboards are currently North Facing, which means the RGB is on the top slot of the board. This means that you need to make sure you orientate your switch properly depending on which PCB you use.
You can pick some of our kits for adding in switches:


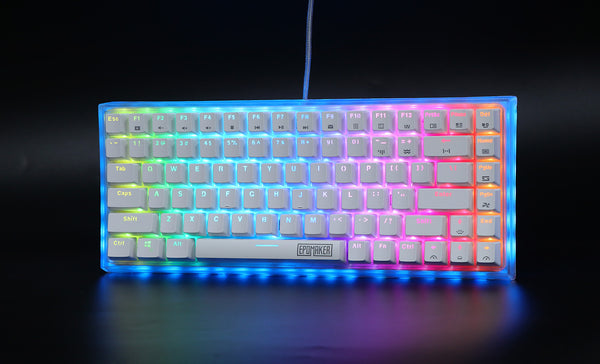
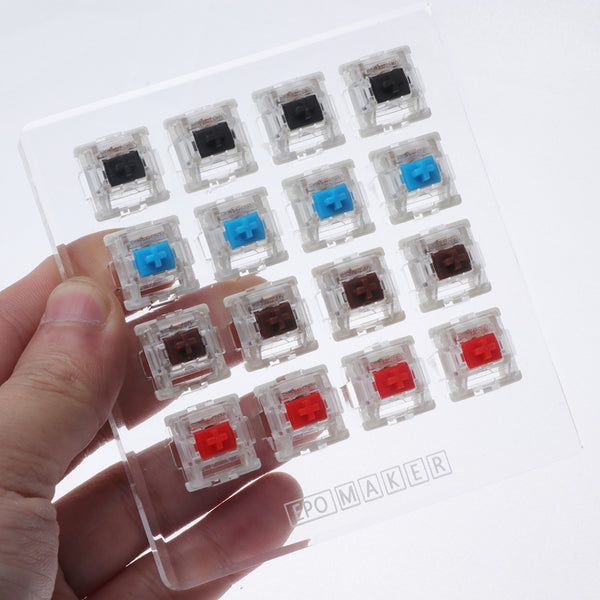
GK68X/GK68XS Arylic Translucent Kit


You want to firstly start by making sure your pins are angled properly before you insert your switch. Make sure your switch pins are straight, otherwise you can damage your PCB or your switch. When you press down, you should see the two clips go down, but depending on the material of your plate (in our case, our acrylic GK68XS is FR4), it sometimes might not show the clips. But as long as the switch is pressed down against the plate, it should press down fully when you put your keycaps down.

When you align your switch, make sure that you don’t press the switch down too hard, if it is not smoothly clicking in or pushing down, then your switch (especially if you lubed it), might not be fully closed. You should try and press down on the top shell and see whether anything clips back in place. It is going to be the same for optical switches, but you don’t have to worry about making sure the pins are not bent.